

arduino · uno-q
Arduino UNO Q is NOT a Regular Arduino: What I Learned the Hard Way
If you just got an Arduino UNO Q and tried to use it like a classic Arduino, you probably hit a wall. I did. Here’s the story of how Serial.println() taught me that the UNO Q is a fundamentally different kind of board — and how to actually develop for it from the command line.
Why This Matters
I’m building HomeGuard Parivaar — an autonomous home health robot for Indian families managing eldercare from a distance. The Arduino UNO Q is the brain: its dual-processor architecture lets me run ML models on the Linux side while controlling motors and sensors from the Arduino side.
But before I could build anything, I had to understand how this board actually works. The official docs point you toward App Lab (the GUI editor). I wanted to use the CLI — VS Code, Claude Code, terminal workflows. Getting there took some wrong turns.
What We’re Building
By the end of this post, you’ll have:
arduino-cliinstalled with the UNO Q Zephyr core- SSH access to the board’s Linux side
- A working blink app deployed via the command line
- An understanding of why the UNO Q needs a completely different development model

Hardware You’ll Need
| Component | Notes |
|---|---|
| Arduino UNO Q (2GB or 4GB) | Must complete first-boot setup via App Lab first |
| USB-C data cable | Must be a data cable, not charge-only |
| WiFi network | Board connects via WiFi for SSH access |
Before you start: If you haven’t set up your UNO Q yet, follow the First Use guide to set your password, connect to WiFi, and update to the latest firmware. The CLI workflow in this post assumes your board is already initialized and on your network.
Step 1: Install arduino-cli
curl -fsSL https://raw.githubusercontent.com/arduino/arduino-cli/master/install.sh | BINDIR=~/bin sh
export PATH="$HOME/bin:$PATH"  # Add to .bashrc for permanence
Initialize and install the UNO Q core:
arduino-cli config init
arduino-cli core update-index
arduino-cli core install arduino:zephyr
Verify:
arduino-cli board listall | grep "UNO Q"
# Arduino UNO Q    arduino:zephyr:unoq
Step 2: The Classic Approach (and Why It Fails)
If you’re coming from Arduino UNO/Nano/Mega, your instinct is:
void setup() {
  Serial.begin(115200);
  pinMode(LED_BUILTIN, OUTPUT);
  Serial.println("Hello from UNO Q!");
}

void loop() {
  digitalWrite(LED_BUILTIN, HIGH);
  Serial.println("LED ON");
  delay(1000);
  digitalWrite(LED_BUILTIN, LOW);
  Serial.println("LED OFF");
  delay(1000);
}
Compile and upload:
arduino-cli compile --fqbn arduino:zephyr:unoq ./blink-test/
arduino-cli upload -p /dev/ttyACM0 --fqbn arduino:zephyr:unoq ./blink-test/
It compiles. It uploads. You open the serial monitor… nothing. No output. Maybe the LED blinks, maybe it doesn’t.
What went wrong?
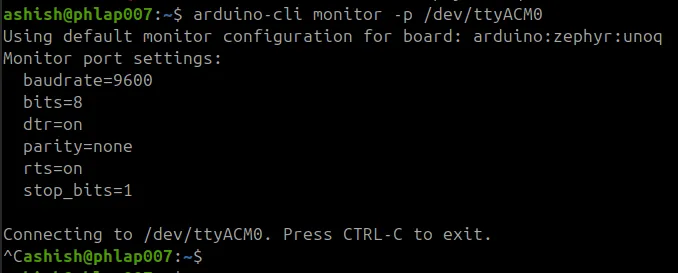
The Dual-Brain Architecture
The UNO Q isn’t a microcontroller with USB. It’s two processors on one board:
| MPU (Linux Brain) | MCU (Arduino Brain) | |
|---|---|---|
| Chip | Qualcomm QRB2210 | ST STM32U585 |
| CPU | 4x Cortex-A53 @ 2.0 GHz | Cortex-M33 @ 160 MHz |
| OS | Debian Linux | Zephyr RTOS |
| RAM | 2GB or 4GB | 786 KB |
| Manages | WiFi, USB, camera, AI/ML, Python | GPIO, sensors, motors, PWM |
They talk to each other via Arduino Bridge — an RPC layer. And here’s the critical detail:
The USB-C port is managed by the MPU (Linux side), not the MCU.
So when you call Serial.println() on the MCU, it writes to the hardware UART on pins D0/D1 — not to USB. To get output over USB, you need the Monitor object, which routes through the Bridge to the MPU. But the Bridge only works when the MPU is running its orchestration service.
When we called Bridge.begin() without the MPU side running, the sketch just hung. No blink, no serial, nothing.
Step 3: The Correct Way — App-Based Development
On the UNO Q, a project is an App with two halves:
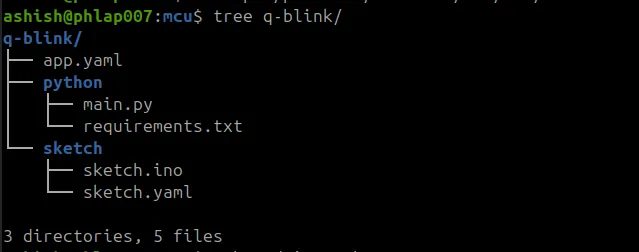
The MCU sketch registers functions that the Python script can call:
sketch/sketch.ino:
#include "Arduino_RouterBridge.h"

void setup() {
    pinMode(LED_BUILTIN, OUTPUT);
    Bridge.begin();
    Bridge.provide("set_led_state", set_led_state);
}

void loop() {
}

void set_led_state(bool state) {
    digitalWrite(LED_BUILTIN, state ? LOW : HIGH);  // Active-low!
}
The Python script on the MPU drives the logic:
python/main.py:
from arduino.app_utils import *
import time

led_state = False

def loop():
    global led_state
    time.sleep(1)
    led_state = not led_state
    Bridge.call("set_led_state", led_state)
    print(f"LED {'ON' if led_state else 'OFF'}")

App.run(user_loop=loop)
sketch/sketch.yaml:
profiles:
  default:
    fqbn: arduino:zephyr:unoq
    platforms:
      - platform: arduino:zephyr
    libraries:
      - Arduino_RouterBridge (0.4.0)
      - Arduino_RPClite (0.2.1)
      - MsgPack (0.4.2)
      - DebugLog (0.8.4)
      - ArxContainer (0.7.0)
      - ArxTypeTraits (0.3.2)
default_profile: default
app.yaml:
name: LED Blink Test
description: "Simple LED blink via Bridge"
version: "1.0.0"
ports: []
bricks: []
Step 4: SSH In and Deploy
First, find your board’s IP (from your router or App Lab). Then set up SSH:
ssh arduino@<YOUR_BOARD_IP>
# Enter the password you set during first-boot setup
I added an SSH key and config alias so I can just do:
ssh arduino-2gb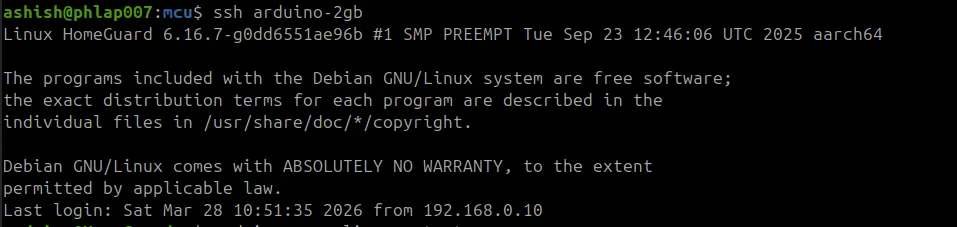
Deploy the app:
# From your host machine
ssh arduino-2gb 'mkdir -p ~/ArduinoApps/q_blink'
scp -r q-blink/* arduino-2gb:~/ArduinoApps/q_blink/
Start it:
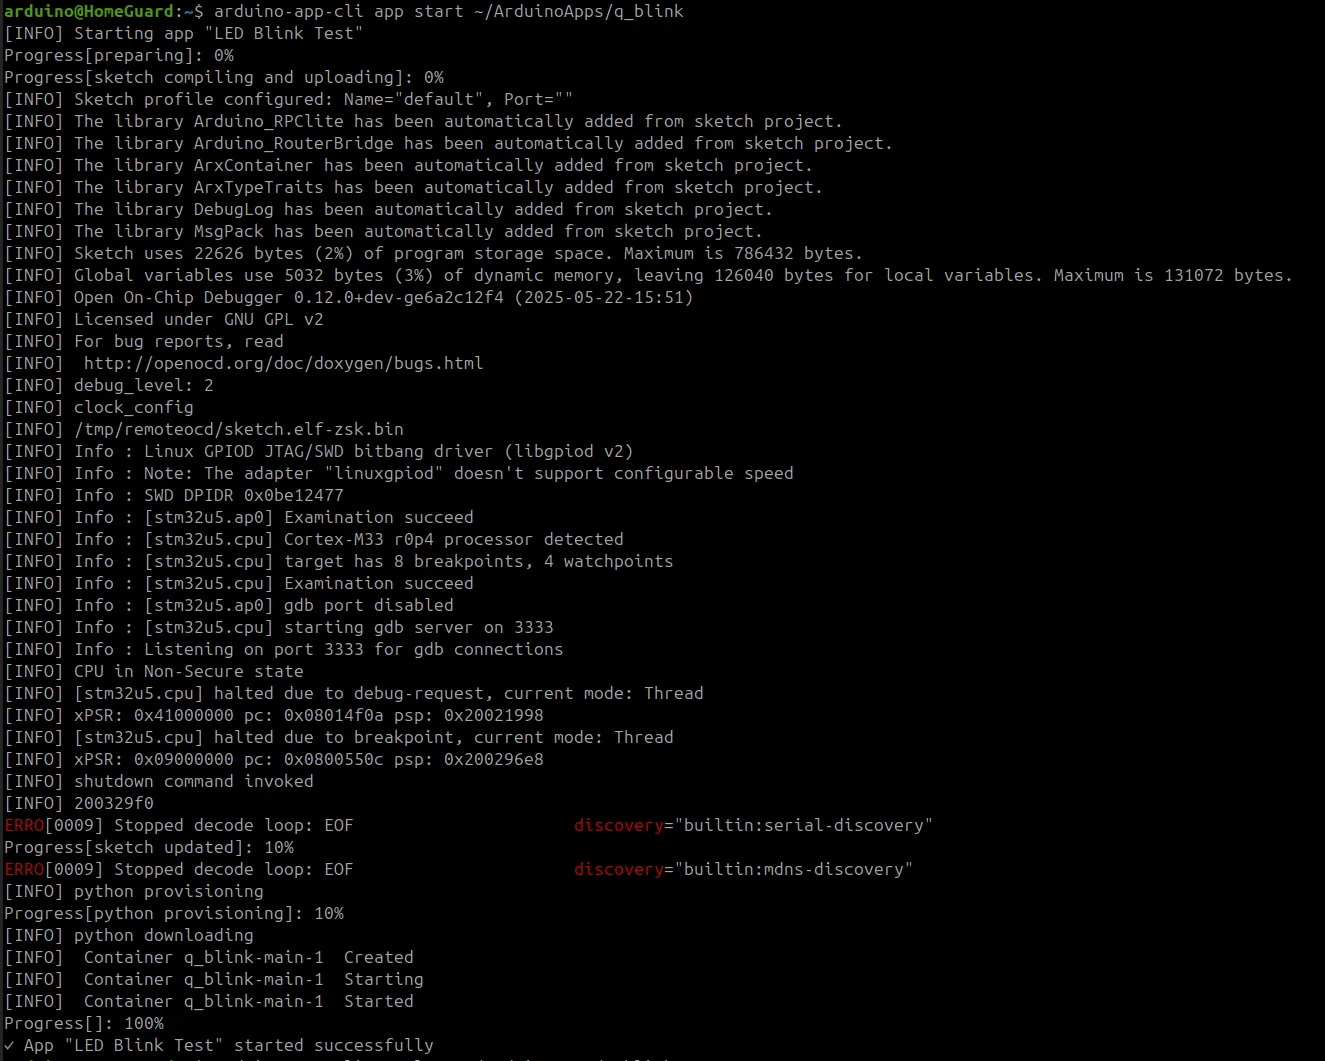
ssh arduino-2gb 'arduino-app-cli app start ~/ArduinoApps/q_blink'The first run downloads libraries, compiles the sketch on the board itself (yes, the 4-core Cortex-A53 compiles your Arduino sketch), flashes the MCU via SWD, and starts the Python container. After about 30 seconds:
Check the logs:
ssh arduino-2gb 'arduino-app-cli app logs ~/ArduinoApps/q_blink'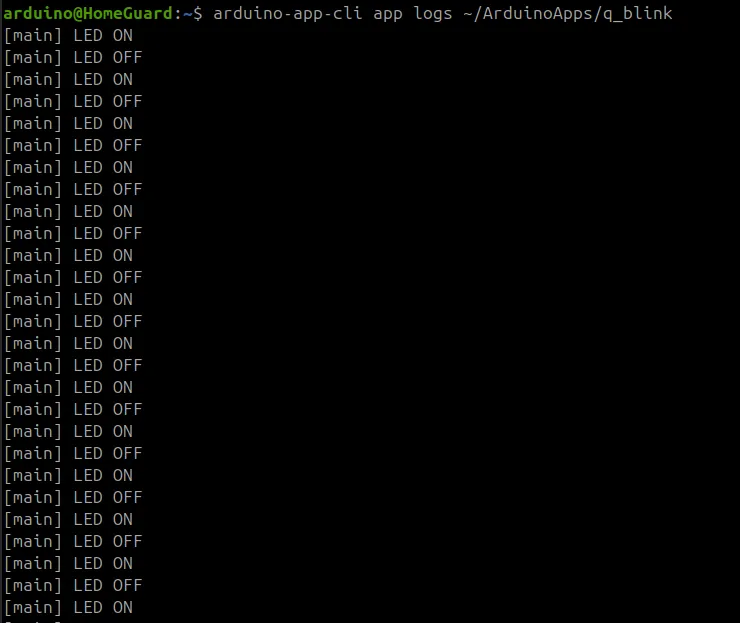

The LED blinks. The logs flow. It works.
What Surprised Me
1. Serial.println() doesn’t go to USB. On classic Arduino, Serial = USB. On UNO Q, Serial = hardware UART pins D0/D1. This tripped me up for an hour.
2. The MCU sketch’s loop() can be empty. The Python side drives the timing. The MCU just registers callbacks and waits. This is a paradigm shift — the MCU is a service provider, not the main loop.
3. Compilation happens on-board. Your host machine doesn’t need the Zephyr toolchain for deployment. The board’s Linux side has arduino-cli and compiles locally.
4. Python runs containerized. Docker compose manages the Python environment on the board. requirements.txt dependencies are auto-installed.
5. The RGB LEDs are active-low. digitalWrite(LED_BUILTIN, LOW) turns the LED on. Classic Arduino gotcha, amplified by the UNO Q’s unfamiliarity.
6. Storage is tight. The 2GB variant has ~3GB free on a 9.8GB root partition. ML models and multiple apps will eat into this quickly.
CLI Cheat Sheet
# Deploy
scp -r myapp/* arduino-2gb:~/ArduinoApps/myapp/

# Start / stop
ssh arduino-2gb 'arduino-app-cli app start ~/ArduinoApps/myapp'
ssh arduino-2gb 'arduino-app-cli app stop ~/ArduinoApps/myapp'

# View Python print() output
ssh arduino-2gb 'arduino-app-cli app logs ~/ArduinoApps/myapp'

# View MCU Serial.println() output
ssh arduino-2gb 'arduino-app-cli monitor ~/ArduinoApps/myapp'

# Check what's running
ssh arduino-2gb 'arduino-app-cli app list'
What’s Next
Now that the dev environment is working, I’m moving on to connecting sensors — starting with the HC-SR04 ultrasonic sensor for obstacle detection. The MCU will read the sensor, and the Python side will use the data for navigation decisions.
This is the foundation for HomeGuard Parivaar’s autonomous patrol capability. Follow along as I build an eldercare robot, one sensor at a time.
This is part of my journey building HomeGuard Parivaar — an eldercare robot for Indian families.
Comments
Hosted on GitHub Discussions. Clicking loads github.com, and replying needs a GitHub account.