

arduino · uno-q
Giving My Robot Eyes: HP w300 Camera on Arduino UNO Q's Linux Side
In the last post, I gave the robot its first sense — ultrasonic distance via the MCU.
Now it’s time for vision. The MCU handles real-time sensors, but the Qualcomm MPU runs Linux — which means USB cameras, Python, OpenCV, and eventually Edge Impulse ML models for person detection and fall detection.
The question: how painless is it to get a USB webcam working on a board where the Linux side is a 1.7GB-RAM Debian system on an embedded Cortex-A53?
Why This Matters
HomeGuard Parivaar needs to see. Specifically, it needs to:
- Detect people in rooms (are they home? which room?)
- Recognize family members by face
- Detect falls (person on the floor who shouldn’t be)
- Remember where objects were last seen (“where are my glasses?”)
All of this runs locally on the MPU — no cloud video, ever. That means the camera pipeline has to work natively on the UNO Q’s Linux side.
Hardware
| Component | Notes |
|---|---|
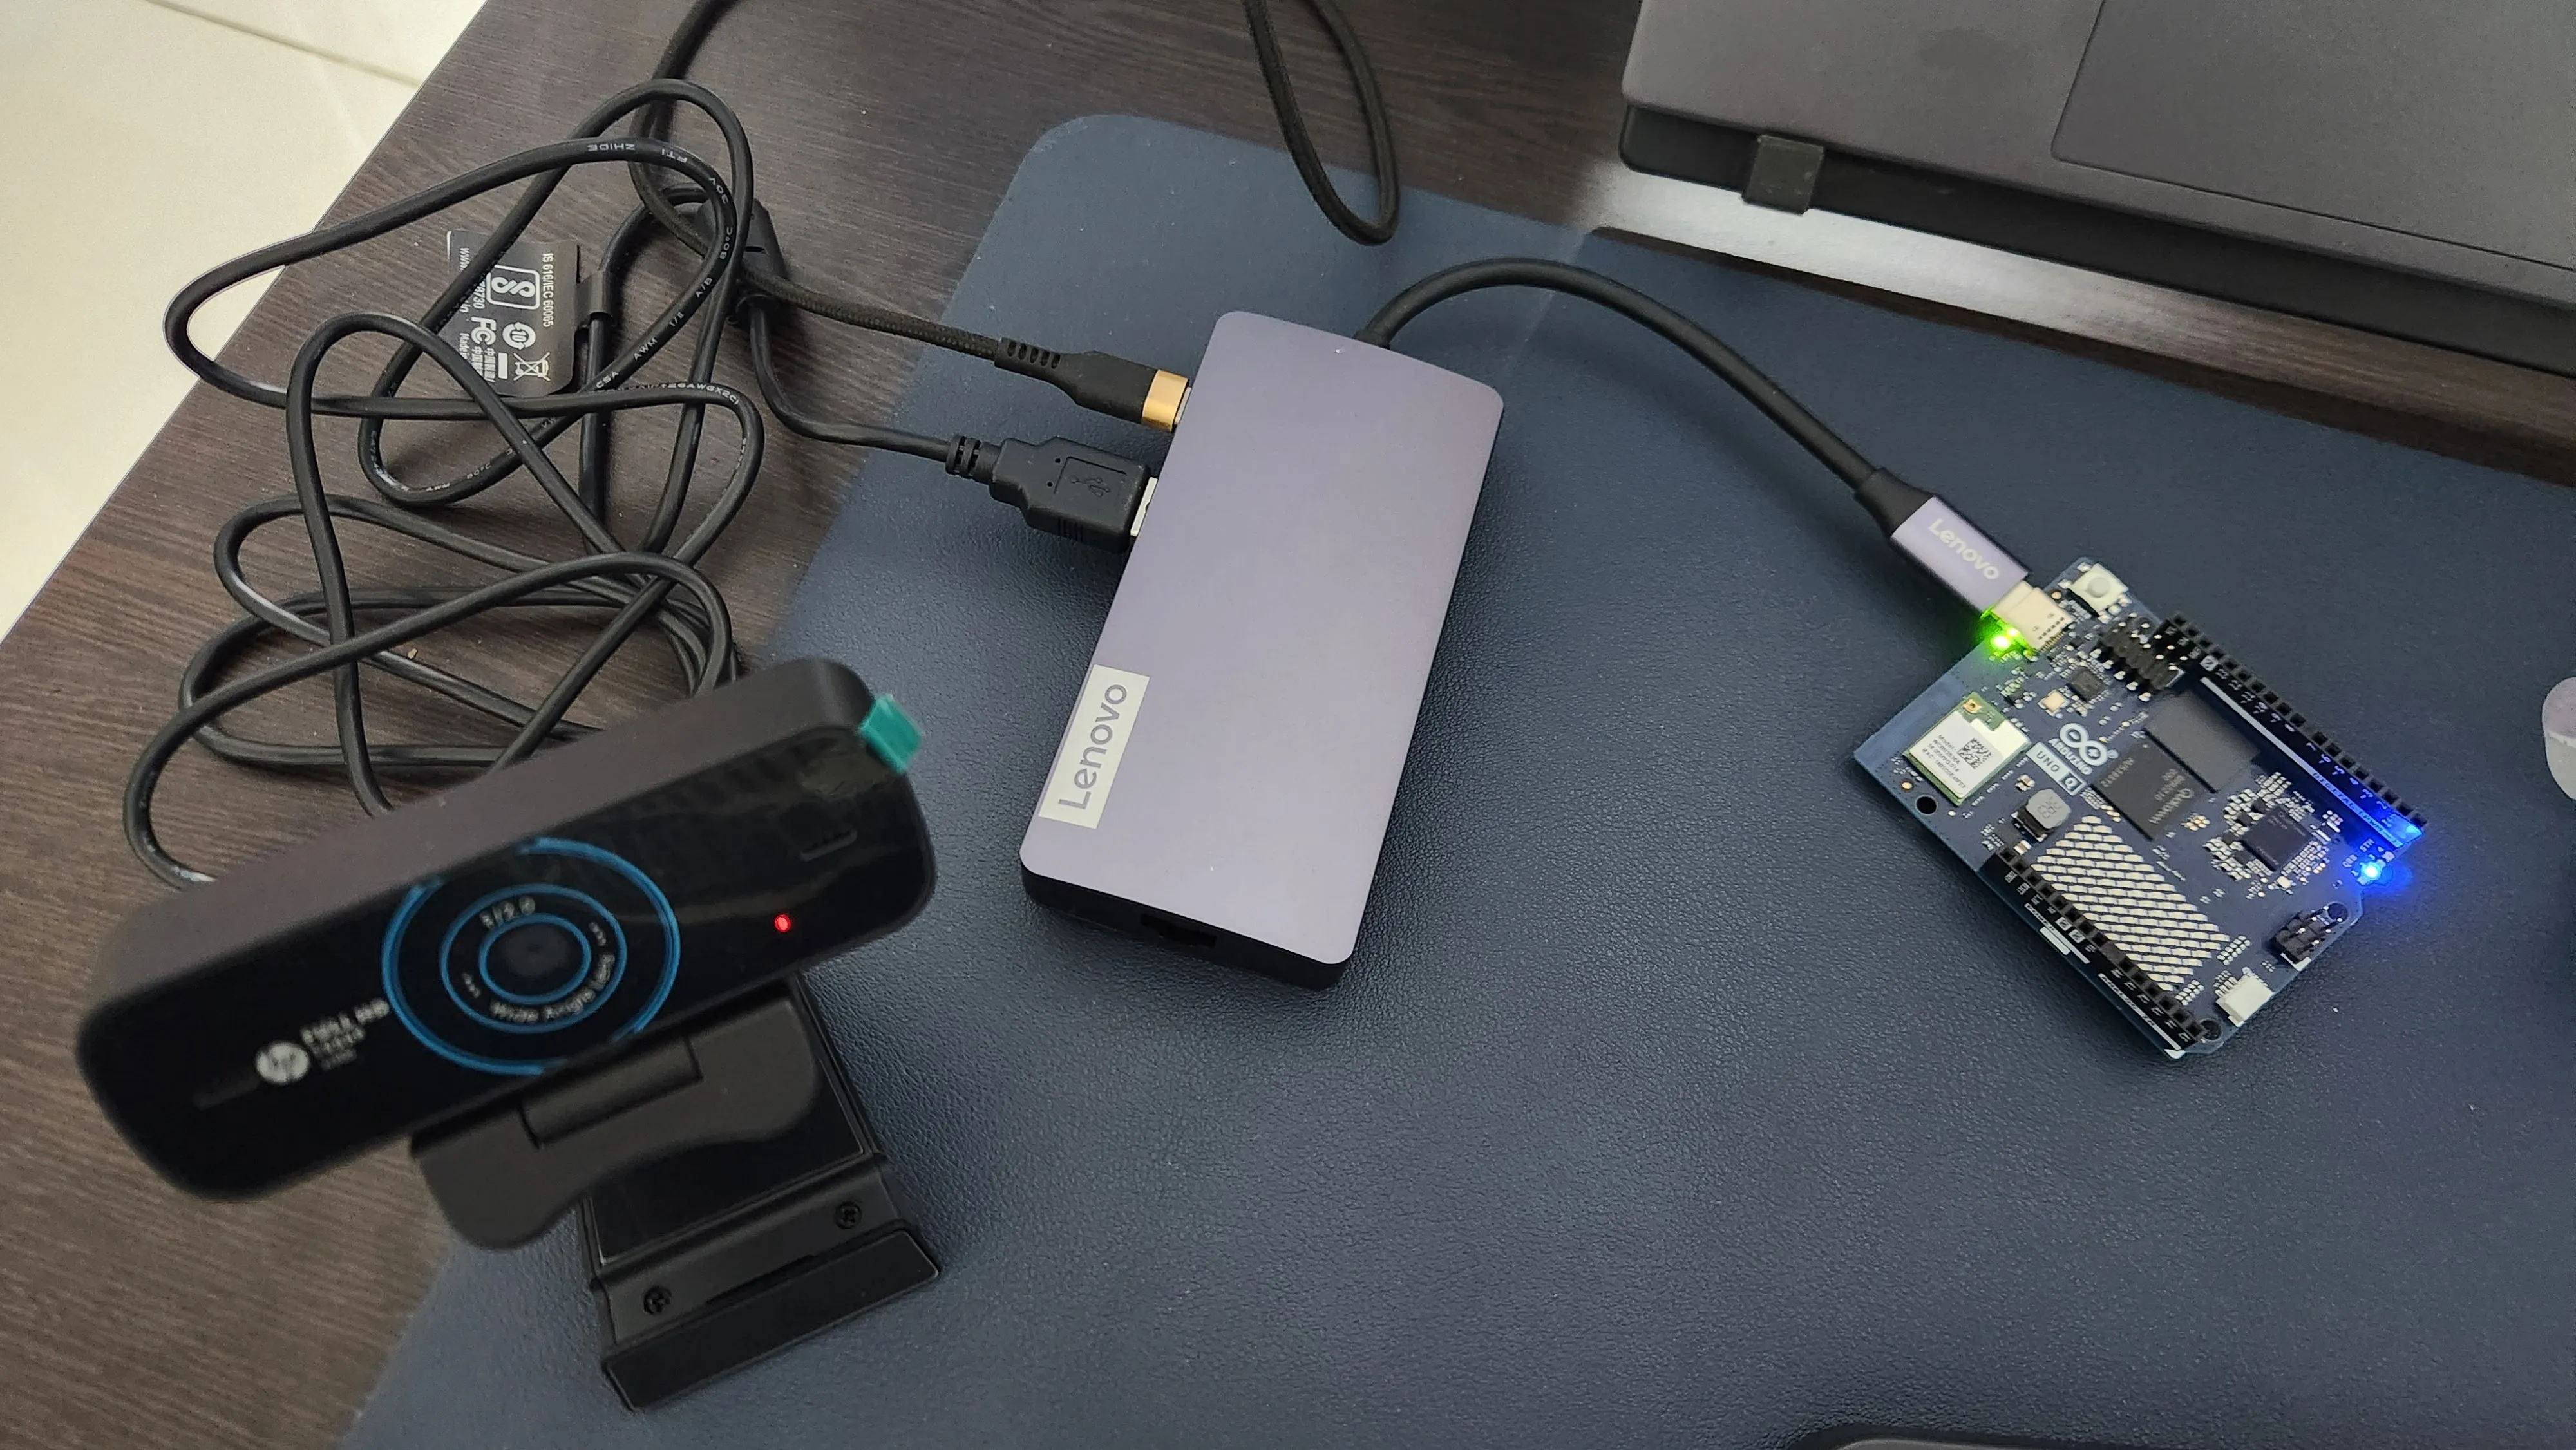
| Arduino UNO Q | SSH access configured (see Part 1) |
| HP w300 USB webcam | 1080p, dual mic, ~$25 |
| USB hub | Lenovo 150 USB-C Travel Dock (any hub works) |
The HP w300 is a UVC class device — standard USB video. No special drivers needed.
Step 1: Verify Detection
Plugged the camera into the USB hub connected to the UNO Q. SSH in and check:
lsusbBus 001 Device 005: ID 03f0:0a59 HP, Inc w300Detected. Now check video devices:
v4l2-ctl --list-devicesQualcomm Venus video decoder (platform:qcom-venus):
/dev/video0
/dev/video1
w300: w300 (usb-xhci-hcd.2.auto-1.1):
/dev/video2
/dev/video3
/dev/media0Two things to notice:
/dev/video0and/dev/video1are NOT cameras. They’re the Qualcomm Venus hardware video decoder — a codec engine built into the SoC. If you blindly open/dev/video0expecting your webcam, you’ll get nothing.- The HP w300 is at
/dev/video2(capture) and/dev/video3(metadata).
Step 2: Check Supported Formats
v4l2-ctl -d /dev/video2 --list-formats-ext| Format | Resolutions | Max FPS |
|---|---|---|
| MJPG | 320x240 up to 1920x1080 | 30 fps |
| YUYV | 320x240 up to 640x480 | 30 fps (drops to 10 fps above 640x480) |
MJPG is the format to use. It’s compressed on the camera itself, so you get full 1080p over USB 2.0 bandwidth. YUYV is raw/uncompressed and hits the USB bandwidth wall at 640x480.
For ML inference, I’ll be capturing at 640x480 anyway — Edge Impulse models typically use 96x96 or 320x320 input images. But knowing 1080p works is useful for object memory photos later (“where are my glasses?” needs a clear image).
Step 3: Install OpenCV
The UNO Q’s Debian system has Python 3.13 but no OpenCV pre-installed. I used a venv to keep things clean:
python3 -m venv ~/camera-lab
source ~/camera-lab/bin/activate
pip install opencv-python-headless
Headless because there’s no display connected — we only need capture and image processing, not GUI windows.
Step 4: Capture a Frame
import cv2
import time

cap = cv2.VideoCapture(2)  # /dev/video2
cap.set(cv2.CAP_PROP_FOURCC, cv2.VideoWriter_fourcc(*'MJPG'))
cap.set(cv2.CAP_PROP_FRAME_WIDTH, 640)
cap.set(cv2.CAP_PROP_FRAME_HEIGHT, 480)

if not cap.isOpened():
    print("ERROR: Could not open camera")
    exit(1)

time.sleep(1)  # let auto-exposure settle

ret, frame = cap.read()
if ret:
    cv2.imwrite('/tmp/capture.jpg', frame)
    h, w = frame.shape[:2]
    print(f"Captured: {w}x{h}")

cap.release()
First capture at 1920x1080:
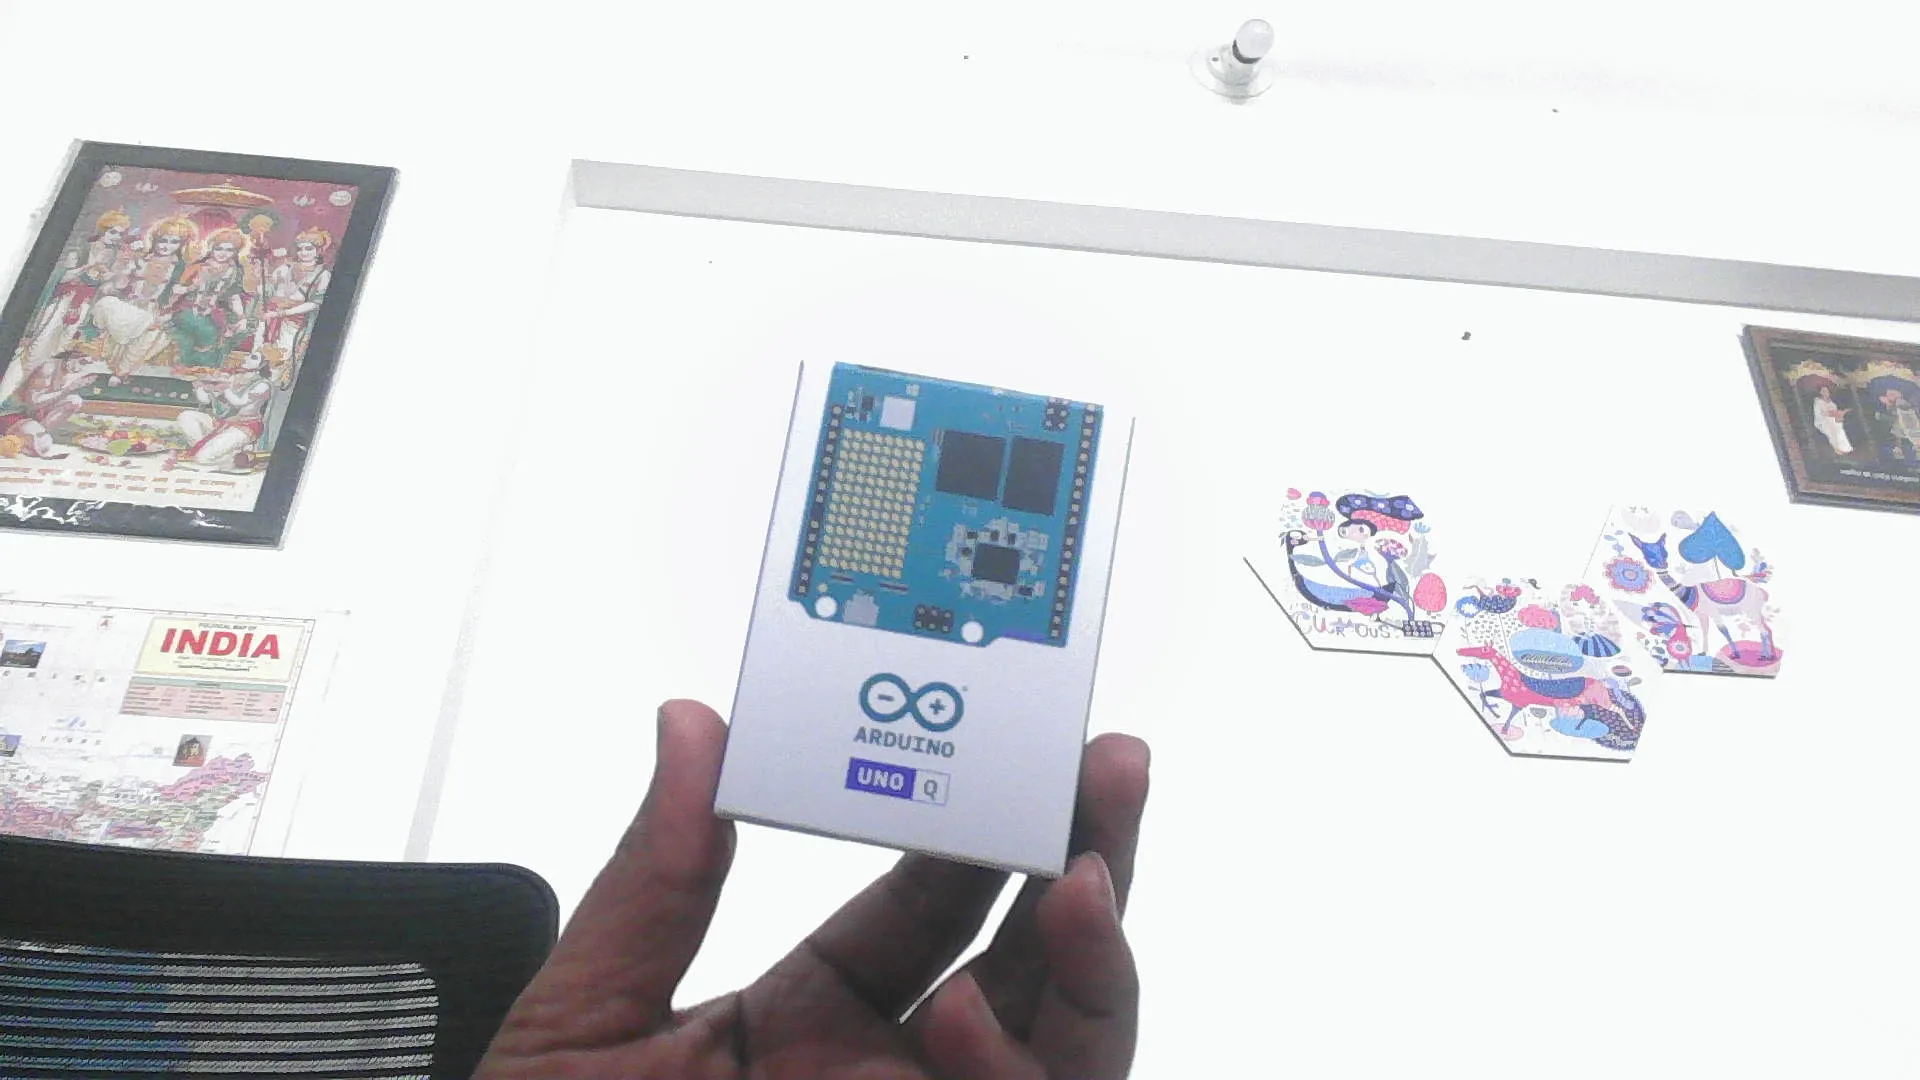
Full HD, sharp, good exposure. Now at 640x480 — the resolution I’ll actually use for ML inference:
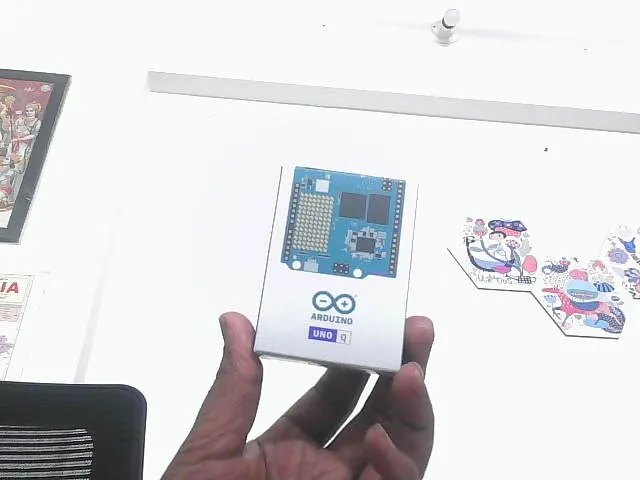
Still clear enough to make out the UNO Q box, text, and background details. This is exactly what the ML pipeline needs.
Step 5: Explore Camera Controls
The HP w300 exposes a solid set of V4L2 controls:
v4l2-ctl -d /dev/video2 --list-ctrlsKey ones for the robot:
| Control | Range | Default | Why It Matters |
|---|---|---|---|
| brightness | -64 to 64 | 0 | Adjust for dark rooms |
| backlight_compensation | 0 to 160 | 80 | Windows behind people = silhouettes |
| auto_exposure | menu | Aperture Priority | Let the camera handle it |
| gain | 0 to 100 | 0 | Boost in low light |
| power_line_frequency | menu | 50 Hz | Correct for India (prevents flicker) |
| sharpness | 0 to 6 | 4 | Sharper = better for face recognition |
The backlight_compensation control is especially relevant. When the robot patrols rooms with windows, a person standing in front of a window will be silhouetted. Bumping this value up should help.
You can set controls from Python too:
cap.set(cv2.CAP_PROP_BACKLIGHT, 120) # boost backlight compensationOr from the command line:
v4l2-ctl -d /dev/video2 --set-ctrl=backlight_compensation=120What Surprised Me
1. No driver installation needed. Plugged in the camera, it appeared as /dev/video2 immediately. The UVC (USB Video Class) driver is built into the kernel. I was prepared to hunt for drivers on an embedded ARM board — didn’t need to.
2. The camera index changes between reboots. First boot: webcam at /dev/video2, Venus decoder at /dev/video0. After reboot: swapped. If you hardcode VideoCapture(2) like I did, it breaks after a reboot. The fix: parse v4l2-ctl --list-devices to find the camera by name. Never hardcode /dev/videoN for USB cameras.
3. The 1-second sleep matters. Without it, the first frame can come out dark or washed out — auto-exposure needs time to settle after the camera opens. time.sleep(1) after VideoCapture() is cheap insurance. I saw this in early testing when my first capture came out nearly black.
4. Storage is tight. The UNO Q has 9.8GB root with only 3GB free. A single 1080p JPEG is ~200KB. That’s fine for captures, but continuous recording would fill the disk fast. For the robot, we’ll process frames in memory and only save when something interesting happens (a recognized face, a detected fall, an object to remember).
The Full Capture Script
I wrote a reusable capture script that handles everything from this post — dynamic camera lookup, resolution, backlight compensation:
"""Camera capture utility for HP w300 on Arduino UNO Q MPU.

Captures frames from the USB webcam at configurable resolution.
Default: 640x480 MJPG (suitable for Edge Impulse ML inference).

Usage:
    python camera_capture.py                    # single frame to /tmp/capture.jpg
    python camera_capture.py --count 5          # 5 frames to /tmp/captures/
    python camera_capture.py --width 1920 --height 1080  # full HD
    python camera_capture.py --backlight 120              # boost backlight compensation
    python camera_capture.py --brightness 10              # adjust brightness
"""

import argparse
import cv2
import glob
import os
import subprocess
import time


def find_camera(name="w300"):
    """Find camera index by name using v4l2-ctl. Returns index or None."""
    try:
        result = subprocess.run(
            ["v4l2-ctl", "--list-devices"],
            capture_output=True, text=True, timeout=5,
        )
        lines = result.stdout.splitlines()
        for i, line in enumerate(lines):
            if name.lower() in line.lower():
                # Next line(s) have /dev/videoN paths — take the first
                for dev_line in lines[i + 1 :]:
                    dev_line = dev_line.strip()
                    if not dev_line or not dev_line.startswith("/dev/video"):
                        break
                    index = int(dev_line.replace("/dev/video", ""))
                    return index
    except (subprocess.TimeoutExpired, FileNotFoundError, ValueError):
        pass
    return None


def capture(width=640, height=480, count=1, output_dir="/tmp/captures",
            backlight=None, brightness=None):
    camera_index = find_camera("w300")
    if camera_index is None:
        print("ERROR: Could not find HP w300 camera. Is it plugged in?")
        return False
    print(f"Found camera at /dev/video{camera_index}")

    cap = cv2.VideoCapture(camera_index)
    cap.set(cv2.CAP_PROP_FOURCC, cv2.VideoWriter_fourcc(*"MJPG"))
    cap.set(cv2.CAP_PROP_FRAME_WIDTH, width)
    cap.set(cv2.CAP_PROP_FRAME_HEIGHT, height)
    if backlight is not None:
        cap.set(cv2.CAP_PROP_BACKLIGHT, backlight)
    if brightness is not None:
        cap.set(cv2.CAP_PROP_BRIGHTNESS, brightness)

    if not cap.isOpened():
        print("ERROR: Could not open camera")
        return False

    time.sleep(1)  # auto-exposure settle

    os.makedirs(output_dir, exist_ok=True)

    for i in range(count):
        ret, frame = cap.read()
        if ret:
            if count == 1:
                path = os.path.join(output_dir, "capture.jpg")
            else:
                path = os.path.join(output_dir, f"frame_{i:03d}.jpg")
            cv2.imwrite(path, frame)
            h, w = frame.shape[:2]
            print(f"Frame {i}: {w}x{h} -> {path}")
        else:
            print(f"Frame {i}: ERROR reading frame")
        if i < count - 1:
            time.sleep(0.5)

    actual_w = int(cap.get(cv2.CAP_PROP_FRAME_WIDTH))
    actual_h = int(cap.get(cv2.CAP_PROP_FRAME_HEIGHT))
    print(f"\nCamera: /dev/video{camera_index}, {actual_w}x{actual_h}, {cap.get(cv2.CAP_PROP_FPS):.0f} fps")

    cap.release()
    return True


if __name__ == "__main__":
    parser = argparse.ArgumentParser(description="Capture frames from HP w300 webcam")
    parser.add_argument("--width", type=int, default=640)
    parser.add_argument("--height", type=int, default=480)
    parser.add_argument("--count", type=int, default=1)
    parser.add_argument("--output-dir", default="/tmp/captures")
    parser.add_argument("--backlight", type=int, default=None, help="Backlight compensation (0-160)")
    parser.add_argument("--brightness", type=int, default=None, help="Brightness (-64 to 64)")
    args = parser.parse_args()

    capture(args.width, args.height, args.count, args.output_dir,
            args.backlight, args.brightness)
python camera_capture.py # single 640x480 frame
python camera_capture.py --count 5 # burst of 5
python camera_capture.py --width 1920 --height 1080 # full HD
python camera_capture.py --backlight 120 # boost backlight compensation
python camera_capture.py --brightness 10 # adjust brightnessIt finds the camera by name via v4l2-ctl --list-devices, so it works regardless of which /dev/videoN index the camera gets after a reboot.
What’s Next
The robot can now hear (ultrasonic) and see (camera).
Next: Lab 1.6 — bridging the two brains together via RPC. Sensor data from the MCU, camera frames from the MPU, unified in Python. That’s where the robot starts thinking.
After that, the camera feeds into Edge Impulse for person detection — giving the robot not just eyes, but understanding.
This is part of my journey building HomeGuard Parivaar — an autonomous eldercare robot for Indian families, built with Arduino UNO Q.
This is a hobby project and I’m learning by building. If you have suggestions, corrections, or criticism — I’d genuinely love to hear it.
Co-authored with Claude Code (Anthropic) — my AI pair-programming partner for this build. Cover image generated with Gemini (Google).
Comments
Hosted on GitHub Discussions. Clicking loads github.com, and replying needs a GitHub account.